Geekzone: technology news, blogs, forums
Guest
Welcome Guest.
You haven't logged in yet. If you don't have an account you can register now.


View this topic in a long page with up to 500 replies per page Create new topic
1 | 2 | 3 | 4 | 5 | 6
itxtme
2102 posts

Uber Geek


  #2781955 21-Sep-2021 22:56
Send private message

Lizard1977:


Getting desperate, I scoured Google for another place that had it in stock.  A place called Colorex claim to have stock and will ship.  A 20kg bag would be $52 incl. GST and shipping.  Looks like that's my only choice for now.  But even they don't have any of the top coat products.


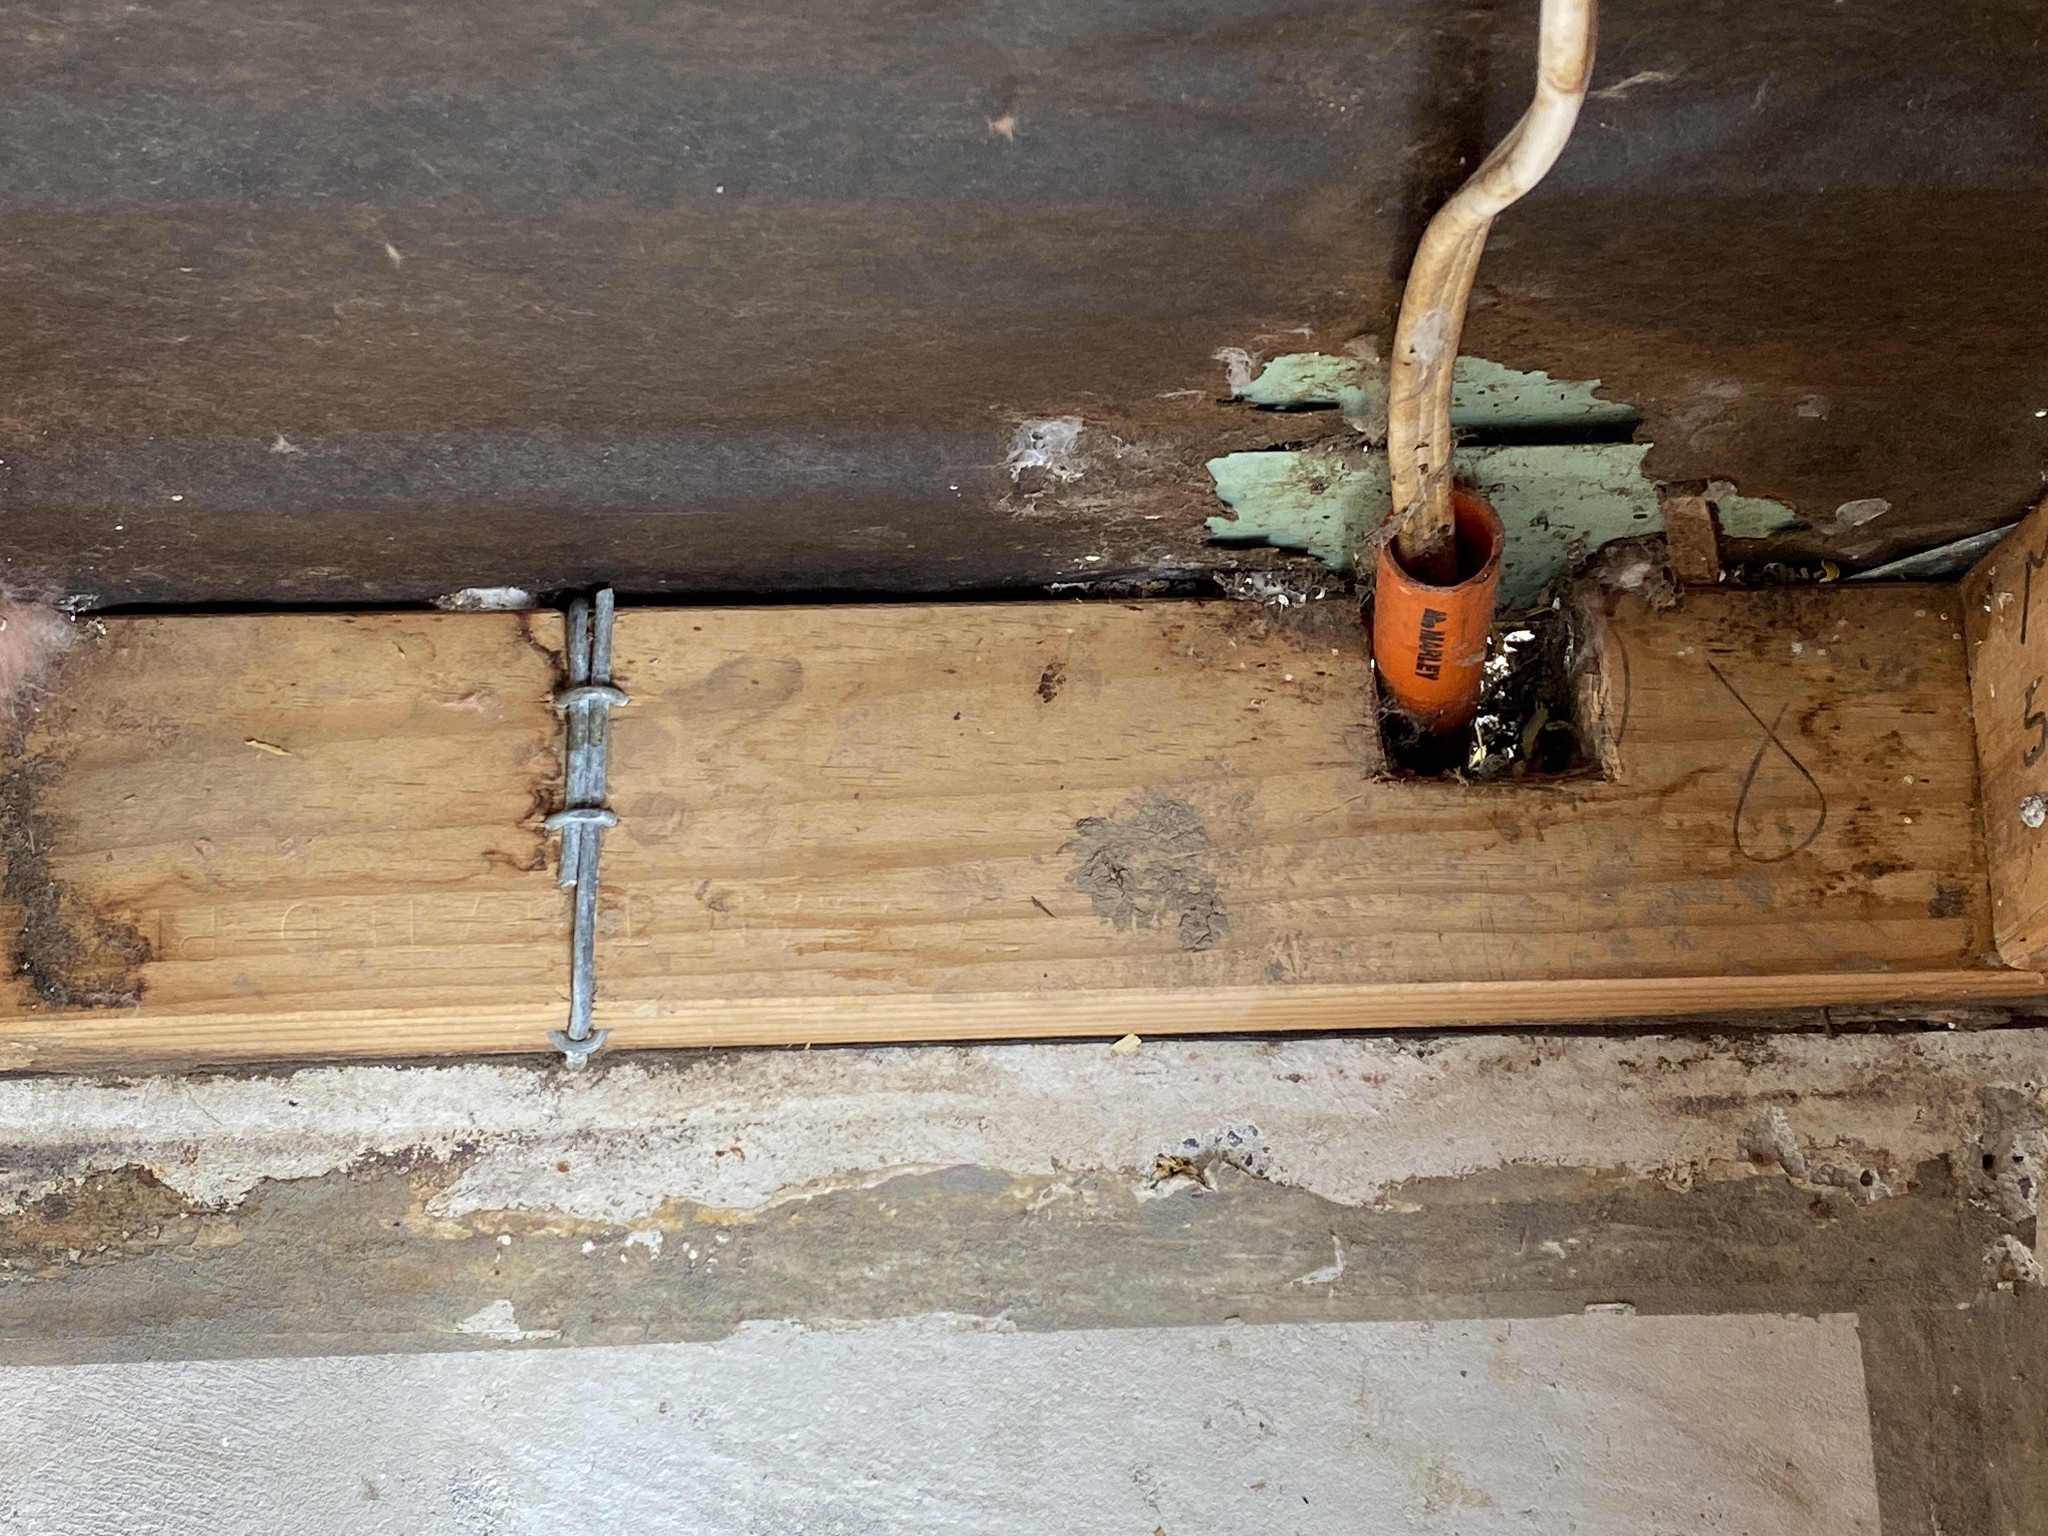
If you can get plasterboard and insulation just get on with that.  It will take you a decent amount of time to get insulated and then plasterboard on.  I take it your sparky has done pre-wire?


Lizard1977

2060 posts

Uber Geek

ID Verified

  #2783059 23-Sep-2021 18:29
Send private message

Yep, pre-wire is done, so we're going to move on to the insulation tomorrow or Saturday and then start putting up the plasterboard.


I've watched videos on Youtube about installing gib, and the one posted by Gib in particular made a point about preparing the framing for gib.  They showed some examples of how to adjust where the framing wasn't level - for instance where dwangs might be sitting proud of the framing.  I get the reason for this - to avoid having the plasterboard bowing across the length - but what isn't clear is how particular we need to be.  For instance, how many mm variance should we be looking for?  I had a look this evening, and there were a few where it's about 2 or 3mm at most, but then there are other situations such as metal bracing (see photos below).  I guess I'm looking for advice on how particular we need to be.  I totally understand that the better the condition of the framing, the better the finish of the gib, but without a frame of reference (excuse the pun) it's hard to know whether the sorts of abnormalities we're seeing are going to result in a slightly diminished result, or look absolutely dreadful.  Spending days over dozens of small imperfections for very little difference in the end result isn't worth it, but I have no way to know what is worth the time.  I'm hoping these photos might illustrate the condition of the framing, and someone can advise whether they are the kinds of things we need to worry about.


Fred99
13684 posts

Uber Geek


  #2783336 24-Sep-2021 08:47
Send private message

That bottom plate with the wire tiedown looks like it's been getting wet, which if so should be 100% sorted before putting insulation and internal lining in place.


The nog out of line could be sorted in a couple of minutes if you've got a sabre saw to cut through the nails, reposition it, and nail it back in place.  Maybe that out of line stud could be tweaked in the same manner - it looks pretty rude work by whoever built it, even for a DIY sleepout. Whacking that steel plate with a hammer to make sure it's flat, that effort might end up pressing it back flush into the timber and might be good enough - just remember it's there though, it'll be annoying if you try to drive a gib screw into it.


Lizard1977

2060 posts

Uber Geek

ID Verified

  #2783345 24-Sep-2021 09:15
Send private message

Thanks for that @Fred99.  When you say the wire tiedown should be sorted before insulation and lining go in, what do you mean?  Do we need to get a builder in to do something?


The photo top-left is right by the ceiling, and it looks like it would mean dismantling quite a lot to knock it back into place.  I guess that why I was asking about the impact of the kinds of misalignment with the framing.  Videos talk about how it will impact the finished product, but don't really specify how significant the impact will be.  If it's just something that a professional will spot, or some kind of surface blemish, that's one thing.  If it means that the plaster and paint will crack in a year or two, that's something else.  Just to be clear, I'm not looking to cut corners, just want to understand where I will get the best payoff.  A less than perfect finish is something I can live with, and fully expect given my lack of experience here.  But something that means it has to be pulled down and redone in a year or two is worth spending the extra time on now to try and get it right.


itxtme
2102 posts

Uber Geek


  #2783351 24-Sep-2021 09:31
Send private message

The other option is to use an electric planer to level it out.  I have used the cheap Ozito with good effect for this.  The problem with leaving protrusions aside from being able to visually notice is screw pops, and of course if installing anything against the finished wall its an absolute mission (kitchenette etc.)


Lizard1977

2060 posts

Uber Geek

ID Verified

  #2783353 24-Sep-2021 09:35
Send private message

Thanks @itxtme for clearing that up about the protrusions.  It's helpful to know what the potential impact is.  In the case of our sleepout it will be housing a bed and some simple furniture such as a desk or a table, so the impact will probably be low. 


Thanks also for the tip about the electric planer.  I have seen a video using an electric planer to smooth out some noggins.  It's the kind of tool I might find a use for in the future, so the Ozito model I looked at might be worth it.


elpenguino
3419 posts

Uber Geek


  #2783390 24-Sep-2021 10:45
Send private message

This is typical of older framing. Either it was put up slap dash or 50 years of temperature extremes have pulled it this way and that. In any case, it's not a big deal.


Aim of the game is to get maximum contact between lining and framing. GIB is flexible but the radius is not small. You are aiming to put in the screws without tearing the paper.


Also, the way the screw works is to squash the gib against the wall under its' head. In the case of photo 1, I have circled the low area. If you screw in an area like this, the screw will simply drive all the way through the GIB, tear the paper covering, and you won't get any binding. 


Showing my amateurness here but because that low area is so small, I would mark on the adjacent wall to not screw there and apply a big dob of glue there. The glue should stop the GIB bouncing. Pack the low area with a thin slice of scrap timber if you wish.


In the case of photo 2, if you leave the high area as it is, GIB to the left of the high point will want to lie above the framing. You will either get screws going too deep or you'll crack the GIB.


Just shave it back with a chisel, plane or whatever. Doesn't have to be perfect , GIB will form to the framing within limits.


For low areas, depending on the size of the low area - just avoid screwing in the area where it transitions from low to high i.e. where the step is. An option is to pack it out with scrap material or tweak the framing as mentioned.


For that tie, attend to any moisture ingress as mentioned. For the side that will be under the GIB, just hammer the tie to push it into the timber more. You may not push the tie all the way into the timber. in which case you may need to remove material in a Vee shape from the back of the GIB to stop it bulging. You can dry fit the sheet and press it onto the tie to see where you need to remove a little material. Obviously, depress the tie as much as you can so you're not weakening the GIB too much.


 For photo 4, that sheet metal thingy shouldn't case any problem except making a screw harder to drive. The metal looks like it is approx 1 mm thick so just line over it. If it's very proud and causes a big step, whack it into the timber as well .


Enjoy !


Most of the posters in this thread are just like chimpanzees on MDMA, full of feelings of bonhomie, joy, and optimism. Fred99 8/4/21


Cloud spending continues to surge globally, but most organisations haven’t made the changes necessary to maximise the value and cost-efficiency benefits of their cloud investments. Download the whitepaper From Overspend to Advantage now.
Lizard1977

2060 posts

Uber Geek

ID Verified

  #2783397 24-Sep-2021 10:51
Send private message

Thanks for that advice @elpenguino.  Really appreciate the practical suggestions there.


In the case of the tie and the possible moisture ingress, any suggestions on how to approach it?  It's sitting on a concrete base, and the exterior lining of the sleepout is metal with building paper on the inside.  On the other side of the wall is a small garden bed.  I really have no idea what we can do to stop moisture, other than maybe putting some silicone sealant between the exterior lining and the timber framing - but I have no idea how sensible that is.


elpenguino
3419 posts

Uber Geek


  #2783474 24-Sep-2021 11:26
Send private message

You're welcome.


Nah, silicone is a bodge approach. I look at colonial houses and think - they didn't need silicone to stay dry, should I?


Rather than try seal it from the inside look at the outside


You may find you have dirt/lawn adjacent to and higher than the slab of the sleep out. Remove soil (and / or everything else ) until the slab's sides are clear and nothing can drip or convey water onto the slab's surface.


Forgot if anyone has mentioned - look at the GIB documentation which shows how to cut around doors and windows to avoid cracking.


Planning your GIB cuts is a bit of a knack too.


The best approach will depend on your wall dimensions and the number and position of penetrations.


To make the plastering easier, I usually get longer sheets for the ceiling. So if the ceiling is 3 x 2.7 metres long, rather than use standard 2.4m sheets, I'll either get 3m or 2.7m sheets. That way you avoid having to plaster butt joints and the taper joints are much easier for a noob.


The extra cost for longer sheets is small.


Most of the posters in this thread are just like chimpanzees on MDMA, full of feelings of bonhomie, joy, and optimism. Fred99 8/4/21


blackjack17
1705 posts

Uber Geek


  #2783480 24-Sep-2021 11:35
Send private message

I would cut the wire tie down and screw the base plate in with something like this.


And get the moisture sorted first.


Lizard1977

2060 posts

Uber Geek

ID Verified

  #2783483 24-Sep-2021 11:43
Send private message

Here's a photo of the wider area. Would the gap around the electrical conduit be the source of ingress?


I'll also check the soil level on the other side to see if it's above the slab.

Lizard1977

2060 posts

Uber Geek

ID Verified

  #2783484 24-Sep-2021 11:45
Send private message

blackjack17:

I would cut the wire tie down and screw the base plate in with something like this.


And get the moisture sorted first.


I like that idea but I can't see what the tie down is actually doing. I assumed it was just embedded in the concrete and then wrapped around the timber and held in place with the staples. I can't see any base plate to screw into unless it's under the frame.

Lizard1977

2060 posts

Uber Geek

ID Verified

  #2783485 24-Sep-2021 11:49
Send private message


Also, for gaps around the framing, like this one around the window, is expanding foam appropriate? I figured to use it to fill the gaps and then when it's dry trim it flat wifh a sharp knife.


shim99
104 posts

Master Geek

ID Verified

  #2783486 24-Sep-2021 11:49
Send private message

Pack the low area with a thin slice of scrap timber if you wish.


A similar option is to use damp proof course (DPC). You buy it in a roll at various widths. Usually its used to form a barrier between concrete and timber but is also good for packing out low spots. Its a consistent thickness (which you can layer) and easy to tear, you just staple (or flat head nail) onto the stud. 


elpenguino
3419 posts

Uber Geek


  #2783500 24-Sep-2021 12:00
Send private message

Lizard1977:
Also, for gaps around the framing, like this one around the window, is expanding foam appropriate? I figured to use it to fill the gaps and then when it's dry trim it flat wifh a sharp knife.


I did in the past but my builder showed me these foam products.


https://ramset.co.nz/Product/Detail/196/Backing-rod


You shove it in part way. It's better than foam alone as it allows water to sit on the outside of the rod if it ingresses, then dry.


Slice in half for smaller gaps etc.


Looks like you could still add foam on the inside of the rod.


Available at your HW store in rolls of 10-20 m - not expensive.


Most of the posters in this thread are just like chimpanzees on MDMA, full of feelings of bonhomie, joy, and optimism. Fred99 8/4/21


1 | 2 | 3 | 4 | 5 | 6
View this topic in a long page with up to 500 replies per page Create new topic


News and reviews »

Air New Zealand Starts AI adoption with OpenAI
Posted 24-Jul-2025 16:00


eero Pro 7 Review
Posted 23-Jul-2025 12:07


BeeStation Plus Review
Posted 21-Jul-2025 14:21


eero Unveils New Wi-Fi 7 Products in New Zealand
Posted 21-Jul-2025 00:01


WiZ Introduces HDMI Sync Box and other Light Devices
Posted 20-Jul-2025 17:32


RedShield Enhances DDoS and Bot Attack Protection
Posted 20-Jul-2025 17:26


Seagate Ships 30TB Drives
Posted 17-Jul-2025 11:24


Oclean AirPump A10 Water Flosser Review
Posted 13-Jul-2025 11:05


Samsung Galaxy Z Fold7: Raising the Bar for Smartphones
Posted 10-Jul-2025 02:01


Samsung Galaxy Z Flip7 Brings New Edge-To-Edge FlexWindow
Posted 10-Jul-2025 02:01


Epson Launches New AM-C550Z WorkForce Enterprise printer
Posted 9-Jul-2025 18:22


Samsung Releases Smart Monitor M9
Posted 9-Jul-2025 17:46


Nearly Half of Older Kiwis Still Write their Passwords on Paper
Posted 9-Jul-2025 08:42


D-Link 4G+ Cat6 Wi-Fi 6 DWR-933M Mobile Hotspot Review
Posted 1-Jul-2025 11:34


Oppo A5 Series Launches With New Levels of Durability
Posted 30-Jun-2025 10:15


Geekzone Live »

Try automatic live updates from Geekzone directly in your browser, without refreshing the page, with Geekzone Live now.


Are you subscribed to our RSS feed? You can download the latest headlines and summaries from our stories directly to your computer or smartphone by using a feed reader.